Step-by-Step to Perfect Sun-Kissed Skin
I’ve been using self-tanning products for over 20 years and have tried so many I’ve lost count. I’ve experimented with all kinds of products and techniques and watched loads of how-to videos. About 5 years ago, I finally nailed my technique, ensuring I always look naturally sun-kissed, without streaks, patches, weird colors, or that tell-tale fake tan smell.
Since several folks have asked me about it, I’ll share how to get that perfect tan using self-tanners in this article.
Whether you’re about to go on a vacation and don’t want to blind people on the beach with your pale skin, or the warm weather caught you unprepared for summer, read on to get the best tips & tricks for that sun-kissed goddess glow.
Essential Products and Tools for Self-Tanning
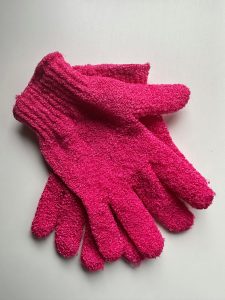
1. Exfoliating gloves — available in any drugstore
2. Self-tanner (I prefer foam)
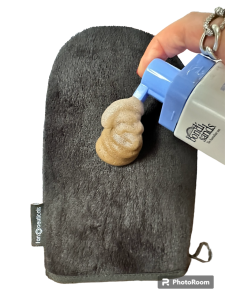
3. A tanning mitt recommended by the product manufacturer
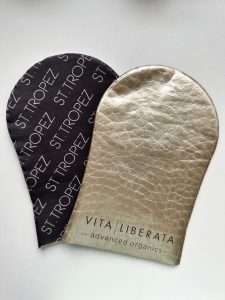
The reason for this is that not all gloves are the same. Some are spongy, some are plush or velvety, and the manufacturer made a mitt specifically for the formulation of their specific product. That way, you can apply the product the best way with the least absorbance into the mitt.
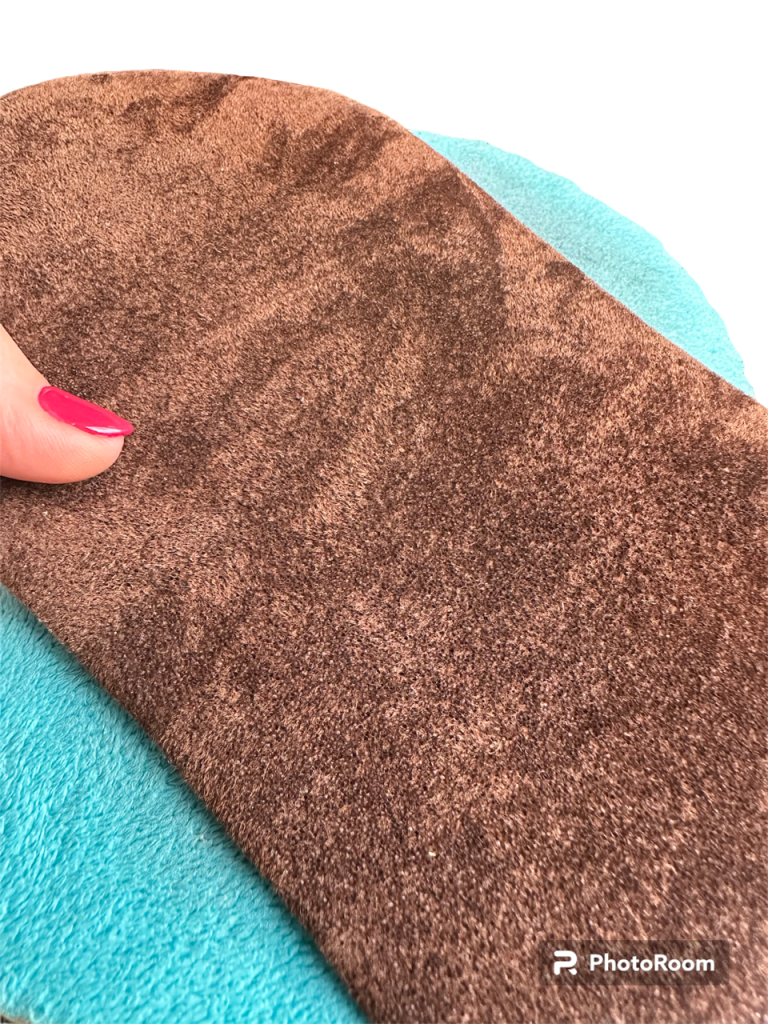
If the manufacturer does not recommend a special mitt, then use the one that is easier for you to work with. I like velvety ones more than spongy ones.
You can also use surgical gloves. Moreover, they have proven to be much better than classic self-tanning mitts, especially for products that are highly absorbed into them.
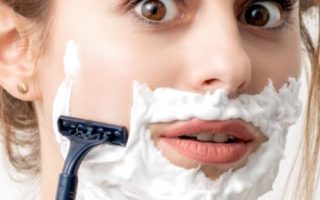
The most important thing is NEVER to apply the self-tanning product with your bare hands!!! I can’t stress that enough!!! Otherwise, your hands will get too dark as you won’t be able to rinse the product off in time.
4. A toothpick and baby powder. More on that later 😉
Step-by-Step Guide to a Perfect Tan Without Sun Exposure
After reading and trying countless tips and tricks, I’m confident that this is the ultimate self-tanning guide. 😎
From preparation to application and aftercare, to keep the tan longer and looking its best.
It might seem complicated, but it’s not, and it becomes super easy to integrate into your weekly routine after a few tries.
Practice a little and apply the self-tanning product at least a few times until you get the hang of it. Don’t do it the first time, say the day before the wedding. 🙈 Haha
Preparation
You often read that you should perform hair removal 24 hours before tanning. But from my experience, it’s better to do it right before/during the shower and before applying self-tanner.
This includes shaving or using sugar paste for hair removal. Avoid hair removal methods that irritate your skin, requiring a waiting period before applying any products, such as waxing.
Don’t forget to remove all jewelry!
I recommend doing this process in the evening before bed so the color develops overnight.
Showering
You’ll often read about doing a full body exfoliation before tanning. However, my trick is to shower with a non-oil-based product (like a gel or even soap) and use the exfoliating gloves mentioned earlier.
Why no oil-based exfoliants? You might ask. They leave your skin oily, and we want the skin to be as ‘dry’ as possible for better absorption of the self-tanner.
Also, the gloves are more effective, especially on dry areas like knees, elbows, and feet.
Important Steps Before Actual Application:
*Dry your skin well and apply a light layer of lotion on your knees, elbows, feet, ankles, and hands (including palms). Wait about 10 minutes after showering for your body to cool down and reduce sweating, which can affect the application.
*Don’t apply self-tanner in a steamy bathroom! Either wait for the bathroom to vent out or choose a different room.
Self-tanning
The golden rule is GENTLE, CIRCULAR MOTIONS!!!
Start from the bottom of your body and work your way up. Bend down to apply the product on your legs so that you don’t smudge the tan on your stomach and arms.
How much product you use depends on its type (cream, foam, gel, etc.), how dark you want to be, and what the manufacturer recommends. Start with a small amount; you can always add more.
When applying to your legs, start with the lower leg (up to the knee) and then use the residue on the mitt for the top of the foot, paying attention to blend well around the ankles and toes.
Be careful with knees and elbows as they are naturally darker and have a different skin texture, making the tan stick more firmly.
Spread your toes and fingers when applying, and go lightly over the heels and foot edges to avoid white lines. Repeat with the other leg.
Some people recommend using a large makeup brush for feet and hands. I prefer the mitt, but you might find the brush gives a better color transition and blends better. Remember, use the leftover product on the mitt for hands and feet to avoid them looking darker than the rest of your body.
After you’re done with your feet, gently go over your knees with the leftover product on your mitt.
Next up, slap on a fresh dollop of self-tanner for your thighs (I personally go for three pumps per thigh). Rub it in real good, in circular motion… and don’t forget your buttox unless you’re aiming for those ‘just sunbathed’ white marks that are super popular in Brazil. Do the same thing with the other thigh.
Time for more self-tanner for your stomach and chest (I use two pumps for the belly and 1-2 for the chest). Make sure to dab some in your belly button to avoid that weird white circle 😆. Again, it’s all about the circular motion, circular motion, circular motion…
Now, let’s tackle the back with a new amount of self-tanner (I go for 2-3 pumps). Ideally, if you’ve got someone at home to help you out with your back, that’s perfect… circular motion, circular motion…
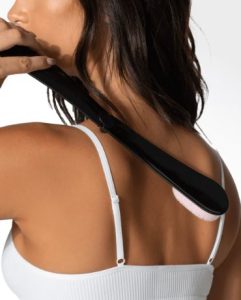
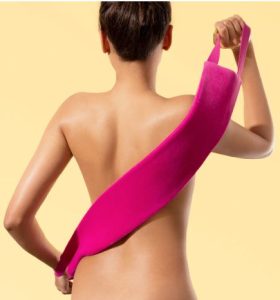
If you’re on your own, you gotta be a bit flexible to reach every spot – a bit from the top, a bit from the bottom. Or, you could always grab one of those back applicator extensions.
There are two kinds: the stick and the pull straps. Personally, I’ve never tried them since I’m flexible enough to cover my whole back on my own.
I repeat, watch carefully if you missed a spot.
Do your hands last. I usually use one pump per hand. Remember to lift your arms and apply the self-tanner to your underarms, carefully avoiding your elbows. Rub over arms in a circular motion, focusing on even coverage. Once you’ve applied most of the product, then lightly go over your elbows.
For your hands, use what is left on the mitt to gently cover the backs of your hands. Spread your fingers and lightly swipe between them, but be cautious not to get the product on your palms or the inside of your fingers. Repeat the same process for the other hand.
And that’s it!!!
Avoid wetting your hands for at least an hour, if possible. 😆
In fact, it would be ideal to stand like a starfish (with arms and legs spread out, lol), in front of the air conditioner or somewhere where you won’t be too hot the next ten minutes before you get dressed. Just so that the self-tanning product absorbs into the skin as much as possible.
Now, take a toothpick and gently run it under your nails (especially on your toes) if you accidentally have a bit of self-tanning product underneath. You don’t want to wake up with dirty brown nails because that’s very hard to remove once it’s set.
And now it’s time for one of the best tricks I have…
Grab some regular baby powder and pat it on the inner creases of your elbows, behind your knees, neck, and underarms!
It’s summer, it’s hot, and you’re definitely going to sweat, but the powder won’t affect the development of the color. As you’ll sweat and bend those creases, they will stay dry because otherwise, the color tends to ‘peel off’ in those areas.
During the color development process, try to sweat as little as possible (leave sex and the gym for another time 😜).
And if you’re going to sleep, wear something light, loose, and not white, that won’t cling too much to your body.
How Long the Tan Takes to Develop
As for how long you should wait before showering and washing off the ‘color guard (guide),’ it depends on the product. Nowadays, there are self-tanners for accelerated tanning that can give you a tan in just an hour or two. But I usually, even if I use such a product, leave the self-tanning product on my body overnight. Ideally, wait 6-8 hours before your first shower.
Some cheaper self-tanners can leave marks during the color development process, so it’s better to risk staining a sheet than your clothes. However, most modern self-tanners don’t have this problem.
Now, if you notice any streaks or think you’ve over-applied during the color development, don’t worry! The actual color will only be apparent after your first shower.
If you find any mistakes post-shower, there are several tricks you can try – more on that later. Also, don’t be alarmed if your skin initially looks very dark or an unusual shade. That’s just the temporary color guide on your skin, not the final tan.
After waiting 6-8 hours (or overnight, longer is fine), you can shower with any product but avoid harsh scrubs.
For the days following, it’s best to use gentle, nourishing body care products. And crucially, always apply a lotion, cream, or body butter after showering to maintain the tan for as long as possible.
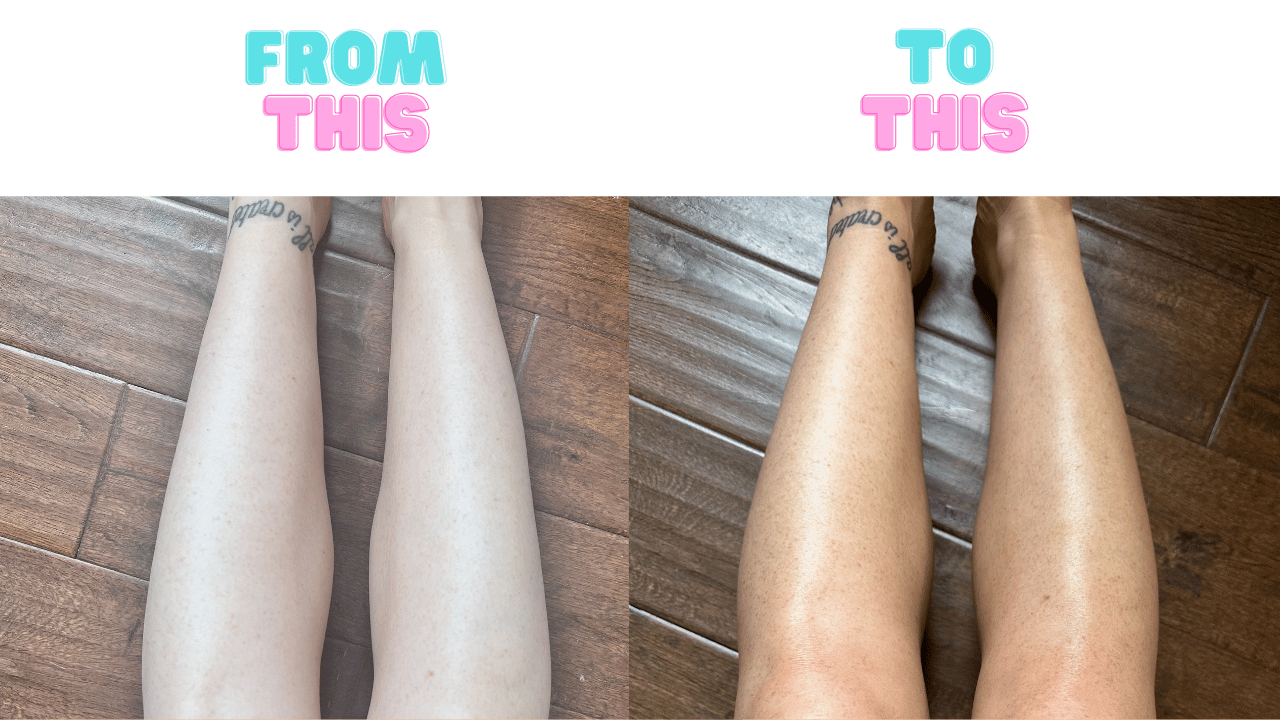
How Long Does the Tan Last
It depends on the product. Generally, no self-tanner, however good it looks, lasts longer than a week to a maximum of 10 days. Often, especially with cheaper products, it’s even shorter, like 4-5 days.
Of course, the durability also depends on your lifestyle. If you shower more than once a day, it’s logical that the tan will fade faster. The same goes if you’ve just applied it before going to the beach and swimming in the sea several times a day for extended periods. In such cases, expect the tan to last only 2-3 days.
As for how long the tan lasts if you’re swimming in chlorinated pools, I can’t say for sure since I avoid pools for various reasons 😆. But it’s said that chlorine fades the tan faster than plain water.
A general tip for self-tanner users is to air dry or gently pat dry with a towel after bathing. Vigorous rubbing with a towel will strip the color off faster. This applies to showering in the days following application or after any kind of body wetting.
Now, there’s a trick to get a darker tan and make it last a bit longer. This might give you an extra 2-3 days. After your first shower, when you rinse off the color guard, use just water and a tiny bit of (non-oily) shower product, then reapply the self-tanner, repeating the steps mentioned before.
This means applying it two days in a row, but on the second day, skip exfoliating and hair removal so you don’t remove the first layer of self-tanner.
I’m not a fan of this technique, though. First, who has the time to do this two days in a row? lol And second, you’ll definitely notice the typical self-tanner odor on the second day, which I don’t like. Despite claims, every self-tanner will leave that scent if applied two days in a row.
If I want a darker tan, I’d instead buy a darker shade of self-tanner (if available) or apply a thicker layer (or two layers) in one day. I apply it to one leg, let it dry a bit while I do the other, and continue similarly with the rest of my body.
When it’s time to reapply, which I recommend doing weekly, it’s crucial to thoroughly remove any remnants of the old tan. A good exfoliation with a scrub glove will make your skin smoother and more receptive to the new application.
In between, you can shave, but maybe not every day. If you remove hair by plucking, it won’t grow back enough in a week to affect the tan, as you’ll likely be self-tanning more often than plucking.
Regarding face self-tanning, I use special drops or products designed for facial skin, but I’ll cover that in another blog post in more detail.
Just a note: it’s not recommended to apply body self-tanners to your face… but some people do. I, personally, don’t.
What if You Make a Mistake
It happens to the best of us, and it’s most common if you didn’t exfoliate well or used a self-tanner without a color guard/guide, meaning it’s not tinted. With such a product, it’s hard to see exactly where you’ve applied it.
There are a few options in that case, depending on how badly you’ve messed up.
If it’s just a missed spot, simply apply a bit more self-tanner to that area.
If you’ve applied too much (like on your knees), you can gently scrub the area with an exfoliating glove or even try applying a bit of lemon juice. Lemon is acidic and has lightening properties (hey, that’s why we use vitamin C to even out skin tone).
If that doesn’t work, special products are available to remove self-tanner. But I’m sure no streak will be so big or noticeable that one of these tricks won’t help 😉
That’s it! I hope this guide helps you understand the self-tanning process better and encourages you to choose this method over sunbathing, which can damage your skin. Happy tanning!
If you have any questions or unclarities, shoot away in the comments. I would love to hear what is your favorite self-tanner.